JavaScript is hard. No other way to say it. And the implementation of JavaScript in Magento 2 is even more challenging. Even for seasoned Magento 1 developer or seasoned front end developer, the way Magento has integrated JavaScript into the application has many twists and turns that can stop you dead in your development tracks.
This series is going to help solve that. In each blog post i’m going walk through a topic in JavaScript and do a deep dive into the details to give you a full understanding of how the system works. There are a great many stacks questions, blog articles and forum posts that might solve one issue here or a problem there. But what is lacking is a tour guide of JavaScript in Magento 2 that will get you to the places you want to be, not the tourist traps we all see developer fall into.
Ghost in the Machine
So, you have cracked open a new copy of Magento 2 and you are thinking about implementing some JavaScript. This is a fairly straightforward goal. Open up some script tags, write a little code, save the file and off you go to the next task.
After a while, some strange things start to happen. You can’t put your finger on it, but the page sometimes just doesn’t seem to load right. You might be using a little bit of jQuery for that slider or maybe you are referencing some other library you loaded in the head of the page with some XML configuration files.
But no matter how much you debug, you can’t seem to figure out why it is the load order of the JavaScript assets aren’t correct. Not all the time, but every so often you load the page and you get some odd error in the console that reads “jQuery is not defined” or something of the sort.
The good news is – you aren’t crazy!
Using the old methods of working with JavaScript misses a very important piece of the Magento 2 loading process. To start off this blog series, I’m going to explain all the details of how to load JavaScript files into the front end correctly and explore a few of the superpowers that the Magento core team has hidden in their system.
Require JS
There are two main things we have to understand to get JavaScript working in Magento 2. Require JS and how to use Require JS. Taking the first question first…What is Require JS?
From the official site:
RequireJS is a JavaScript file and module loader. It is optimized for in-browser use, but it can be used in other JavaScript environments, like Rhino and Node. Using a modular script loader like RequireJS will improve the speed and quality of your code
That sounds really smart, but that quote doesn’t really explain what it’s doing and how it gets that thing done. The phrase “file loader” doesn’t really explain the importance that Require JS has. Simply put, in Magento 2, Require JS manages every JavaScript file that exists in the system. It knows where in the file system it lives, it controls the places it’s loading and it sets the priority of when it’s loaded in the DOM. Require JS is Santa Claus (it makes a list, it checks it twice, it know if your script is naughty or nice).
Require JS is woven into every aspect of how Magento 2 uses and accesses JavaScript. While it is still technically possible to use JavaScript using script tags in your template files, all of Magento 2 is dependent on the Require JS system to manage which JavaScript assets are loaded onto the page and when they are loaded onto the page. If you choose not to use this system, it’s a roll of the dice when it comes to using JavaScript successfully in Magento 2.
What is Require JS doing in Magento 2?
To understand why Magento 2 is using Require JS, we have to go back to the days of Magento 1.

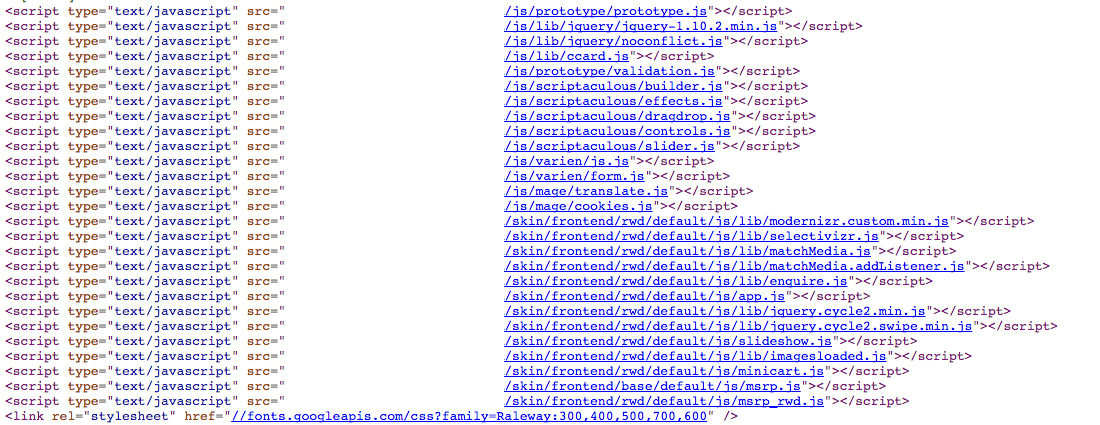
When the page of a Magento 1 site loads, in the head of the document there is a laundry list of all the JavaScript files that the page has been configured to use. This system (the industry standard in 2008) was the cause of endless problems. It was very common on Magento 1 sites to see multiple versions of jQuery loaded on a page. Most 3rd party modules with any amount of front-end functionality relied on jQuery, and as a result, each installed module would import jQuery (which was not a library dependency when Magento 1 was written).
This led to endless amounts of conflicts and HTTP requests for files that were already loaded. Those with a history of Magento 1 development know of the ever-shifting jQuery.noConflict() calls in hopes that on the next page refresh your console errors would vanish.
The solution Magento decided on to resolve this problem was to use Require JS to take control of the loading of JS files by the framework, not developers.
Magento 2 Head Source JavaScript
Looking at the source code on a Magento 2 site, you can see that there are only 3 JavaScript files loaded on the page.

These 3 files manage all the JavaScript for every page on the site. With Require JS, you use configuration files to “define” or “require” the dependencies of your script (or your script itself) and then let Require JS call those files for your specific JavaScript code. What this does is remove the need to control what files are loading on what pages. All custom scripts will be called only when needed by the JavaScript code that is on that page by Require JS. This means that if there is no custom script being used on a site’s page, it won’t be loaded.
Those with a history with Magento will recognize this as just another step in the Magento’s philosophy of configuration first. Using these configuration files (specifically requirejs-config.js), Require JS will merge them together when the static content is compiled on your site. If you were wondering what the setup:static-content:deploy command is doing in the CLI, this is one of its jobs, and when compiled it will create a master configuration file of all the disparate files in pub/static/frontend/{{vendor_namespace}}/{{theme}}/{{locale}}/requirejs-config.js.
Getting Started
For this whole series of blog posts, I will be using Mark Shust’s Docker environment found here: https://github.com/markoshust/docker-magento. This might not be your local development system of choice, and for this blog post that shouldn’t matter. Just note that the file paths in the examples that i’m using with begin with src as the Magento install lives in a sub directory. If you are using another system, remove src or replace it with your file path to find your way.
There is a great video that walks through the set up of Docker on a mac with Magento. The project in GitHub has moved on a little since this recording, Mark is consistently updating this project, but it’s a great place to start: https://youtu.be/2VLSaceaDnM
Let load some JavaScript

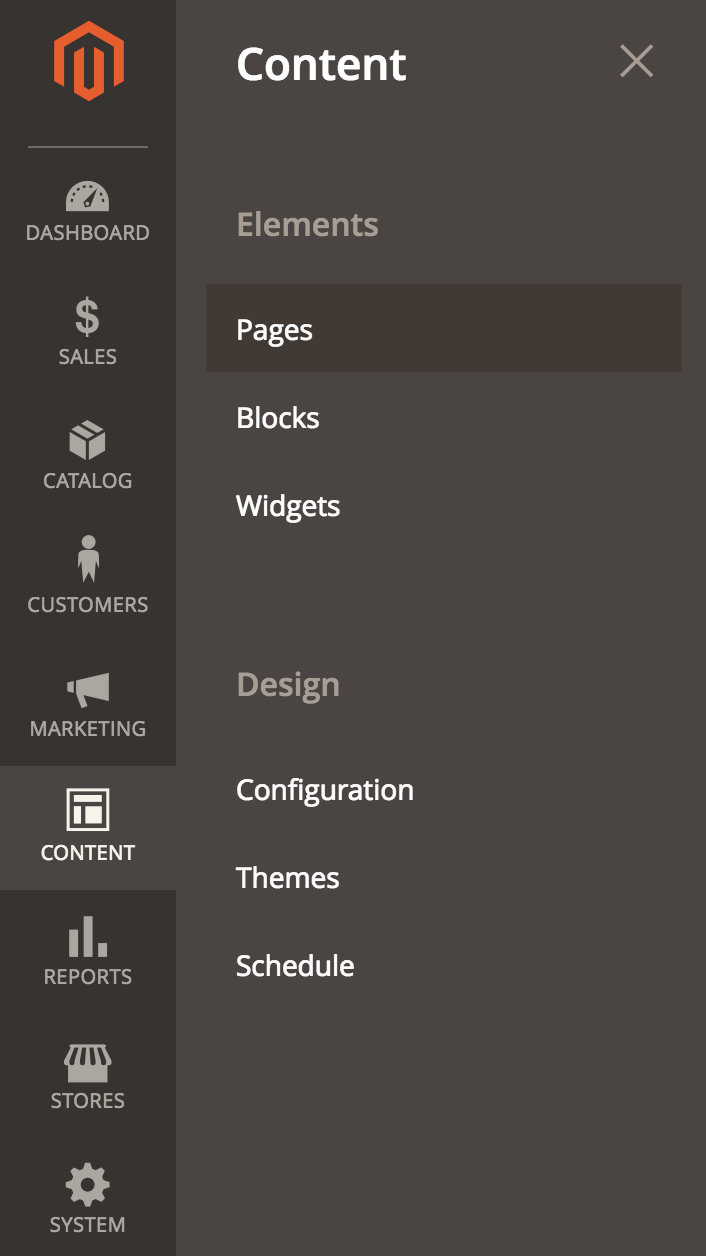
We have had a lot of talk about Magento and JavaScript, to end out this blog we are going to simply load some JavaScript onto a page. I’m going to assume you have a working Magento 2 site (I am using 2.2.6 at the time of this writing). We are going to do all this work in the CMS content areas, just so we don’t have to get into the problems that might arise from a file not loading or cache not clearing. I’m going to be working with a Magento 2 install with the default sample data running a child theme using the Luma theme as its parent. For this blog that wont be necessary, but in future installments it will. Navigate to Content -> Pages and lets create a new page.
Title it anything you like and make sure that you leave the Layout as empty in the Design section.

In the content section, place this code:
<h2 class="animate-title">This is a title</h2>
<button class="primary">Click Me</button>
<script>
require([
    'jquery',
    'domReady'
], function ($) {
  'use strict';

  $('button.primary').on('click', function(){
    $('.animate-title').animate({
      height: '150px',
      fontSize: '80px',
      backgroundColor: '#ff6347'
    }, 1000);
  });
});
</script>
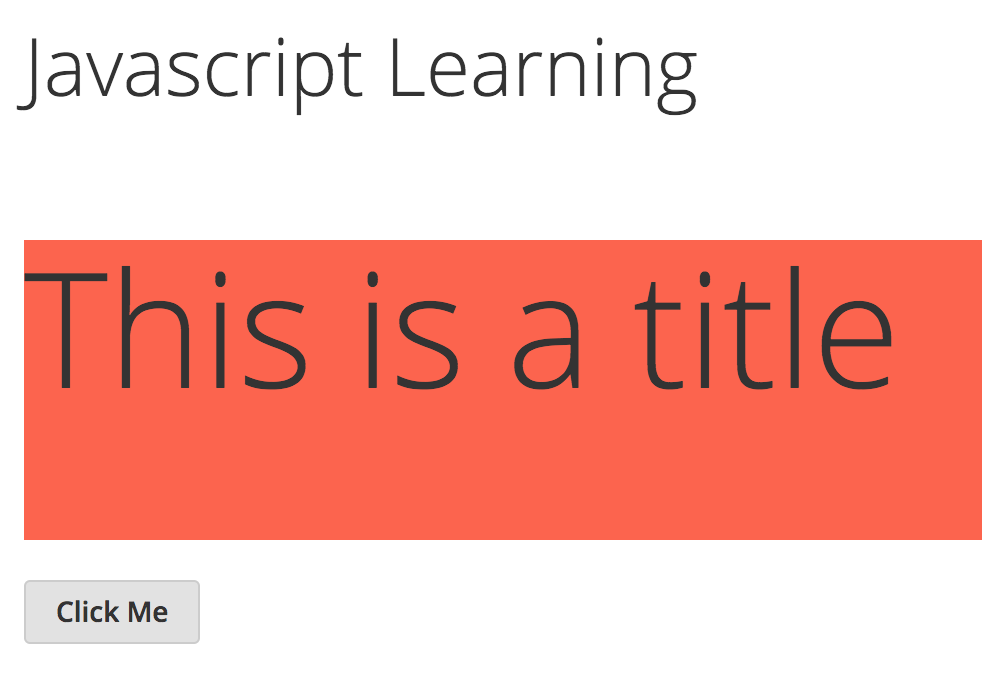
When you load the page and click the button, you should see something like this:

This is of course a trivial example of some very simple jQuery. Sort of a ‘Hello World’. But it’s an important step. If you have tried to use JavaScript in Magento 2 and found it frustrating, you will notice that you don’t have any console errors, the page loads and works every time on reload and you didn’t have any calls to cnd’s or hosted files. We just added in some lines of code and everything just……worked.
The reason it worked is we are including everything we need with the require([], function(){}) call. This line initializes Require JS on the page and then passes an array of all the files (they are modules when loaded this way) we need. You will note that in this code we are not using a full path to a file (just jquery), we will get into the reason why in a future blog. When we want jQuery on the page, we give that alias (jquery), pass it to the anonymous function (using the traditional $) that is the second perimeter of the require statement and then use it as you always would.
Inside that require we then have some normal (i.e. simple) jQuery code that finds a DOM element and then plays around with it.
Wrapping up
We have covered a lot of ground today. But as i’m sure you know, we are just scratching the surface in this blog. But if your goal is to get a little JavaScript onto the page of a Magento 2 site, you know know everything you need to “just get it working”.
In the next blog we are going to take the simple concepts we covered here and do a very common task……..the right way. We are going to add a slider to our site.
